How to fix Sublimation Mistakes

Even the most seasoned sublimation professionals started as beginners. Regardless of skill level, nearly every sublimator has sought out sublimation tips and tricks to achieve the perfect print. Sublimation requires some trial and error, but each mistake is an opportunity to learn and improve. In this guide, we’ve compiled common mistakes we’ve seen (and even made ourselves!) along with solutions to help you achieve smooth, beautiful sublimation results.
Custom Sublimation Project: Halloween Cat Heads
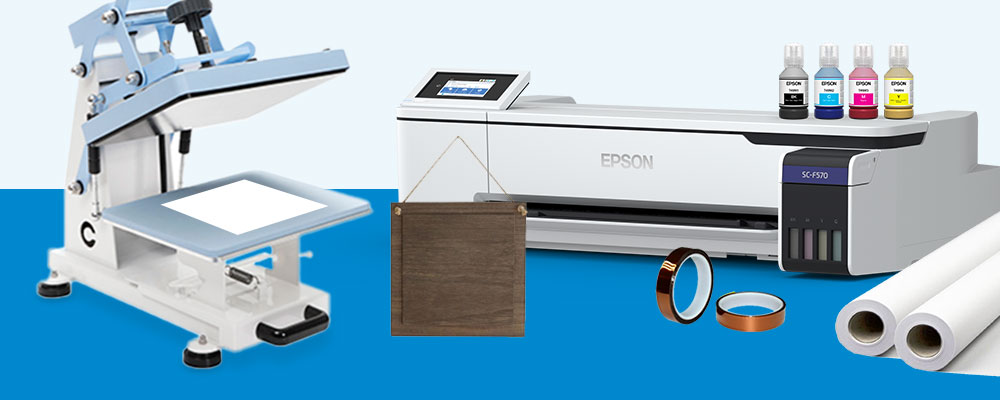
Recently, we took on a fun Halloween project, creating custom cat heads out of Unisub cast acrylic for a spooky garland. The design was laser cut into cat head shapes using our Flux Beamo and Unisub cast acrylic. Once our custom shapes were ready, we added vibrant color using sublimation. With a transfer printed on the Epson SureColor F570 Pro printer, we sublimated our design, resulting in a scratch- and fade-resistant decorative piece. But we encountered a few mistakes on our way to a perfect print—none of which had to do with our equipment! Below, we’ll share each error, along with photos, to help you identify and troubleshoot similar issues.
Common Mistake #1: Forgetting to Remove the Masking
Our first attempt didn’t go as planned. The design looked dull, with bubbles and white spots where the ink didn’t fully transfer. When we inspected the transfer paper, we noticed it was still vibrant and had a sticky sheen, indicating that the ink had adhered to something else: the protective masking layer we forgot to remove!


Troubleshooting Tips for Masking Mistakes
Protective masking is added to protect acrylic or other surfaces during transit and handling, but it must be removed before pressing. Otherwise, the sublimation ink can’t transfer properly. To avoid this in the future, make it a habit to check for protective masking on every item before placing it in your press.
Removing masking can also help prevent visible lines or unwanted residues on the final product, which can be challenging to remove. If your finished piece has ghost lines or sticky areas, check the masking first—it’s an easy fix that can save you time and frustration!
Common Mistake #2: Uneven Pressure Leading to Ghosting and Shadows
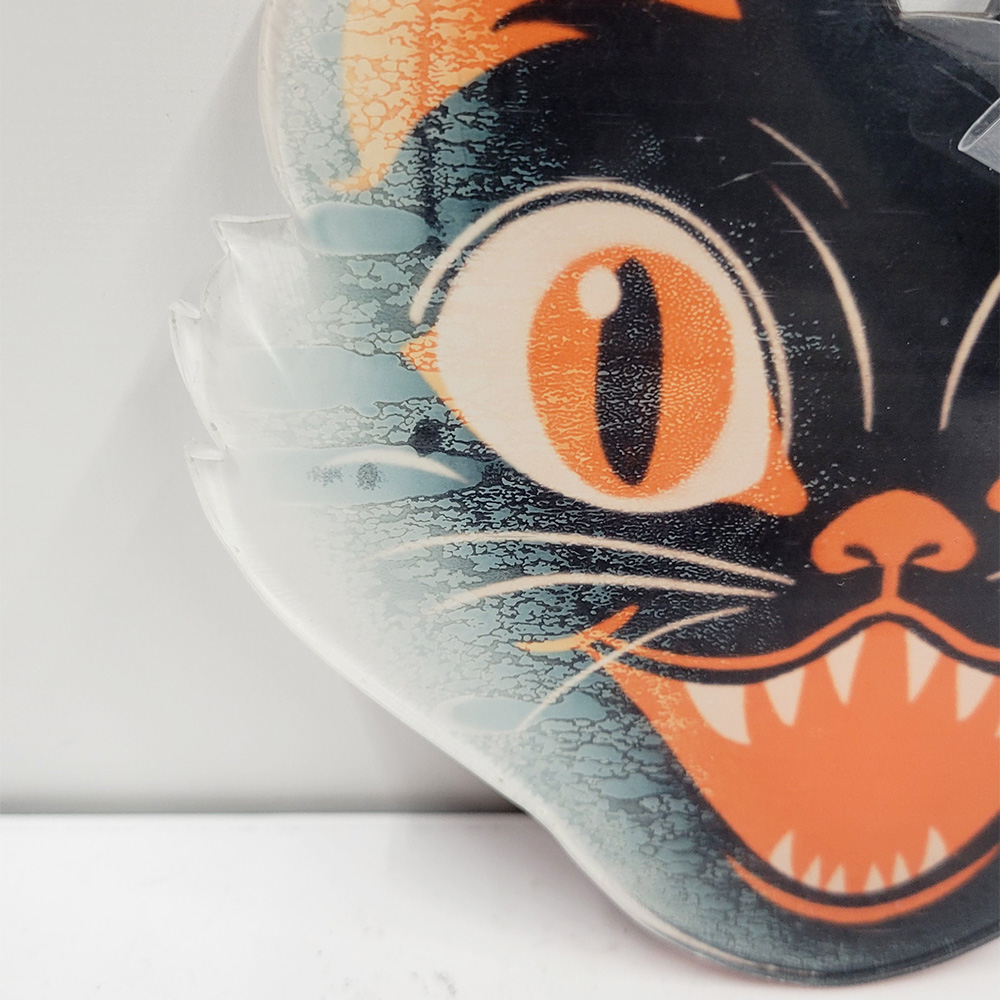
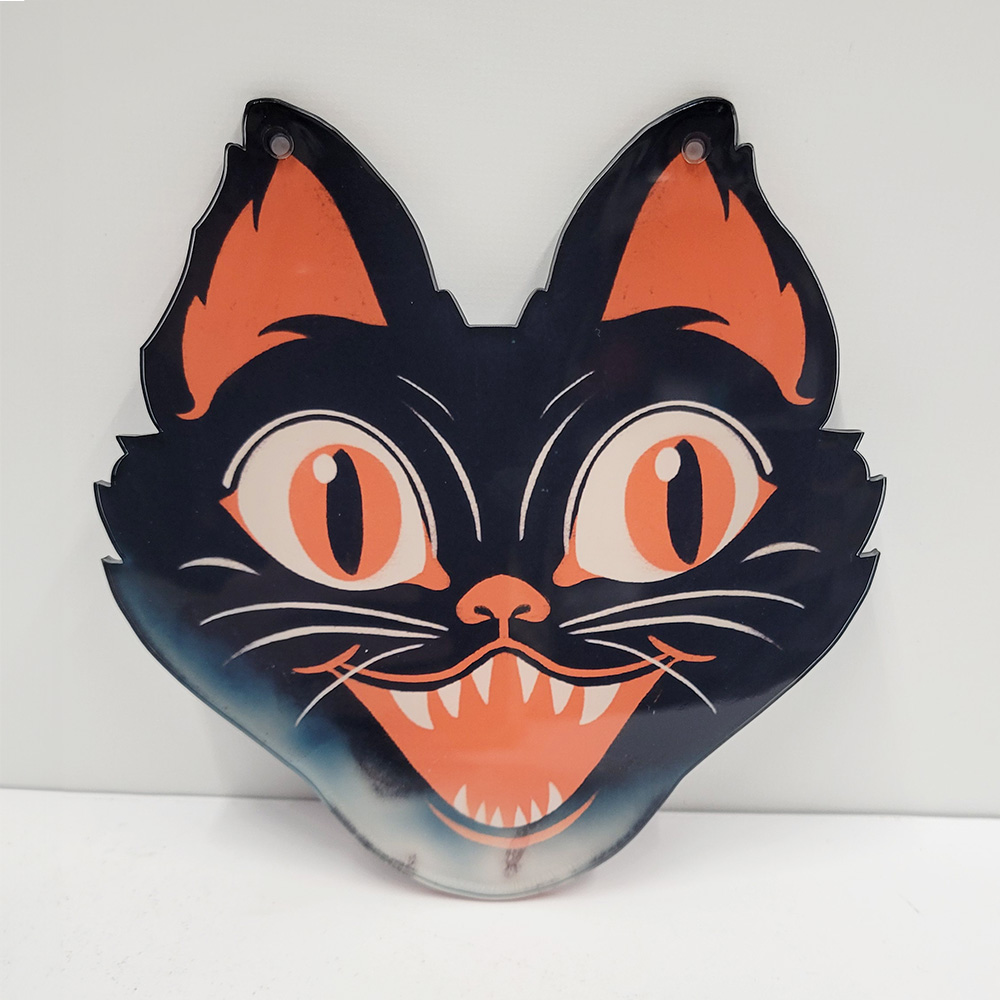
For our second cat, we were careful to remove the masking and followed the time, temperature, and pressure instructions closely. But we still saw “ghosting,” with shadowy areas around the cat’s chin. This effect, common in sublimation, results from uneven pressure or temperature during the transfer process.


In our case, we used our Craft Express press, which has a convenient pull-out drawer for safety. However, we hadn’t pushed the drawer all the way in, leading to uneven pressure. Even small adjustments in alignment can create significant differences in print quality.
Tips for Avoiding Ghosting and Shadows
Ghosting typically results from either temperature or pressure issues. Here are some tips to help prevent it:
Check the Alignment: Ensure the transfer sheet is securely attached, especially if you’re using a pull-out press.
Use Heat Tape: For items that shift easily, heat tape can help secure the transfer and reduce the risk of ghosting. Ensure this is a heat specific tape that can withstand the high heats required for the sublimation process.
Calibrate Pressure: Test your press settings to confirm even pressure. If ghosting persists, experiment with slightly adjusting your pressure settings until you get a smooth transfer.
Small adjustments can often make a significant difference, so don’t hesitate to take the time to test and recalibrate.
Common Mistake #3: Incorrect Color Profiles Causing Color Variations
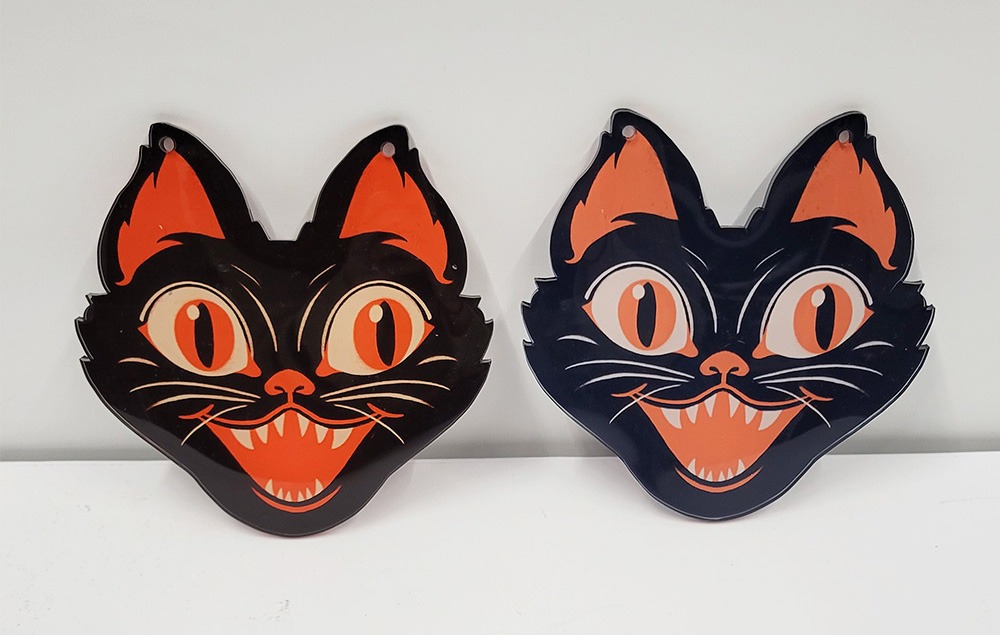
Our third cool cat came out in a brownish tint instead of the deep black we wanted. Color accuracy is essential in sublimation, especially for high-contrast or vivid designs, and incorrect profiles can lead to unsatisfying results.


Tips for Fixing Color Profile Issues
Incorrect colors often arise from using the wrong ICC (International Color Consortium) profile or neglecting a color swatch test. ICC profiles communicate the color range between your design software and printer, translating the colors of your digital design to the printed image. Here’s how to ensure color accuracy:
Use the Correct ICC Profile: Most printers, like the Epson SureColor F570 Pro, have specific ICC profiles tailored to sublimation. Download and install the ICC profile for your printer and ink setup, if available.
Using a color swatch test on your sublimation ready material is a great way to understand how your colors will look before your final print! We wrote a blog post with step-by-step instructions of how to complete a color swatch test if you’re new to sublimation, this a great article.
Common Sublimation FAQs and Additional Tips
We gather a list of some frequently asked questions based on our experience here at JPPlus!
1. What is butcher paper for sublimation and when do I need to use it?
Butcher paper, or blowout paper, is a specially coated paper that prevents ink from off-gassing, or bleeding onto your equipment and future products. It’s recommended to use butcher paper on all projects to protect your equipment. Place a sheet on the bottom of your press and on top of your press and you’re protected from “gassing out”! Teflon sheets can also be used in place of blow-out paper on items that may be sticky and the Teflon sheets are reusable.
2. When do I need to mirror my sublimation prints?
Sublimation requires a mirrored print in most cases. This ensures your text and image will be the correct orientation after pressing. Exceptions to mirroring apply when printing on transparent or see-through surfaces, like glass cutting boards or acrylic where you want the design to face outward. This blog goes into more detail on when it's appropriate to mirror your sublimation prints.
3. Why are my sublimation prints banding?
If you’re seeing lines, or banding, in your sublimation prints, don’t panic! This can be a result of low ink, ink clogged nozzles, or a setting that needs updated. To fix banding, run a nozzle check and head cleaning.
4. How do I avoid ink getting all over when I sublimation?
The sublimation process involves ink going from a liquid state to a gas state. The excess vapor can ‘off-gas’ and get on your platen or on items you aren’t intending to print on! Use blow-out paper to help with this and you should have a clean workspace when you’re done sublimating!
Our final thought on how to fix sublimation mistakes is this: sublimation is both an art and a science, and both art and science are a process! Every mistake you make is a learning experience and a step in your journey to becoming a master sublimator.
When sublimating, remember these key tips – check for masking, align your press and pressure carefully, and use correct color profiles. It’s also helpful to invest in the proper accessories like heat tape, blow-out paper, and a quality press.
Each mistake we encountered led to a small adjustment, helping us achieve the vibrant results we wanted. If you have a sublimation mistake you can relate to, or a challenge you’ve faced, let us know in the comments! Sublimation is all about practice and learning through each project.
By troubleshooting and refining your process, you’ll soon be creating flawless, custom pieces with confidence.
